|
Tone in photographyTone in photography is the range of lightest to the darkest part of an image. This is very important element of a photograph and one must understand its value as well as its limitations. When we look at any object or a scene in nature, our eye scans the entire view. Sensitivity of human eye toward brightness range is so responsive and quick that we can see the detail, in brightest and darkest area, of the view. This range of brightness, compared in a ratio is 1:1,000,000 Film or digital image sensor does not have this range to capture the tonality in a photograph. So in this case, it will compress the tonality down to the ratio of 1:200 - a big disappointment from the range we normally perceive.
Explanation is very simple. In nature, the retina and iris of our eye is interfering with its mechanics. On the other end in photography, we have a sheet of white paper, and bottle of black ink. Limitation starts now, as we can not make the whitest area of the paper, (which is not receiving any ink) any more whiter and blackest area, (which has received maximum ink from the printer) to further black. So the entire range is compressed, and in a view, the detail we could see with our eyes in brightest and darkest area is lost.
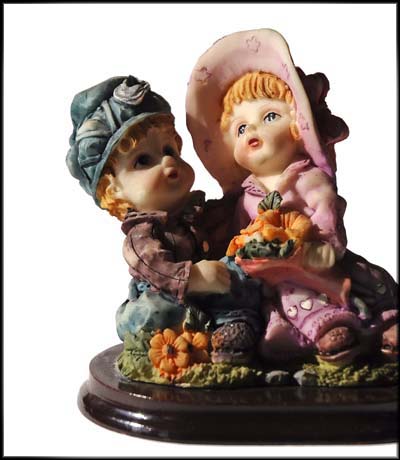
This is what we get when tonal ratio is beyond the latitude of an image sensor. In this example, high-light reading is rated at EV 15 (read about EV - Exposure value)which is shutter speed 1000 and aperture 5.6, and shadow area reading is rated at EV 8 which is shutter speed 8 and aperture 5.6. So in this case, the tonal ratio is of 7 f-stop, which is much beyond the latitude of any image sensor. In order to get good result, it has to be within 3 f-stop. 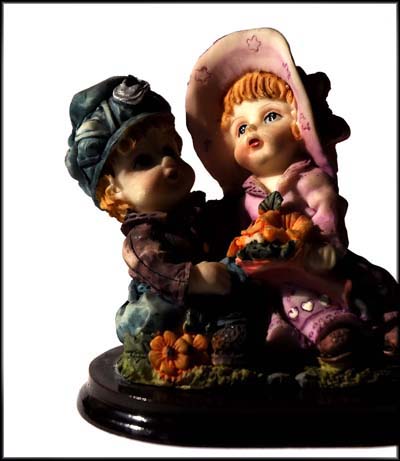
If we try to capture high-light details by under exposure, we will not get any details in shadow.

If we over expose to capture details in shadow area, the high-light will be washed out.
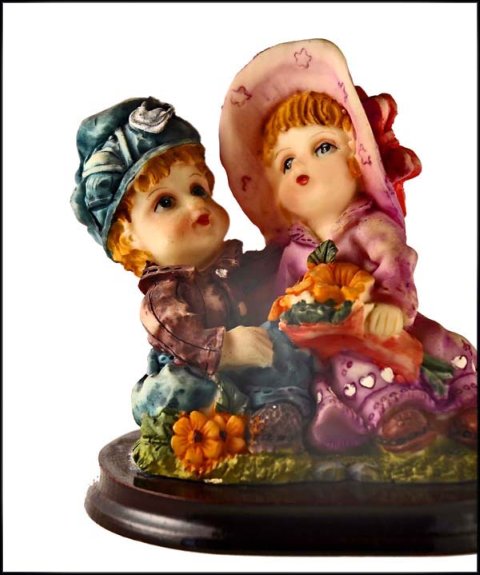
By reducing the tonal ratio, we can get this result. Here, with help of a reflector, the shadow area reading is increased to EV 13 (shutter speed 250 and aperture 5.6). Now the difference is of 2 f-stop, which is within the limitation. In controlled environment of a studio, tone in photography can altered to range and bring it down to the latitude of a print. Use of fill in lights and reflectors will solve the problem. However, when light is beyond our control, then we have to wait for light to improve or use it in a creative way, where we can compromise for the brightest or darkest area and yet, with clever composition, we can create an interesting photograph. Morning and evening light is more preferable compare to mid-day light. Over cast light is ideal for outdoor portrait. When we cannot control light, other option to control tone in photography is to take help of a photo editing software. In that case, we shoot three pictures, one each for high light, mid tone and shadow area and then merge those three pictures with the help of a software to compile a much better tonal range. This is an HDR technique, - high dynamic range.
Return back to Elements of image
|


